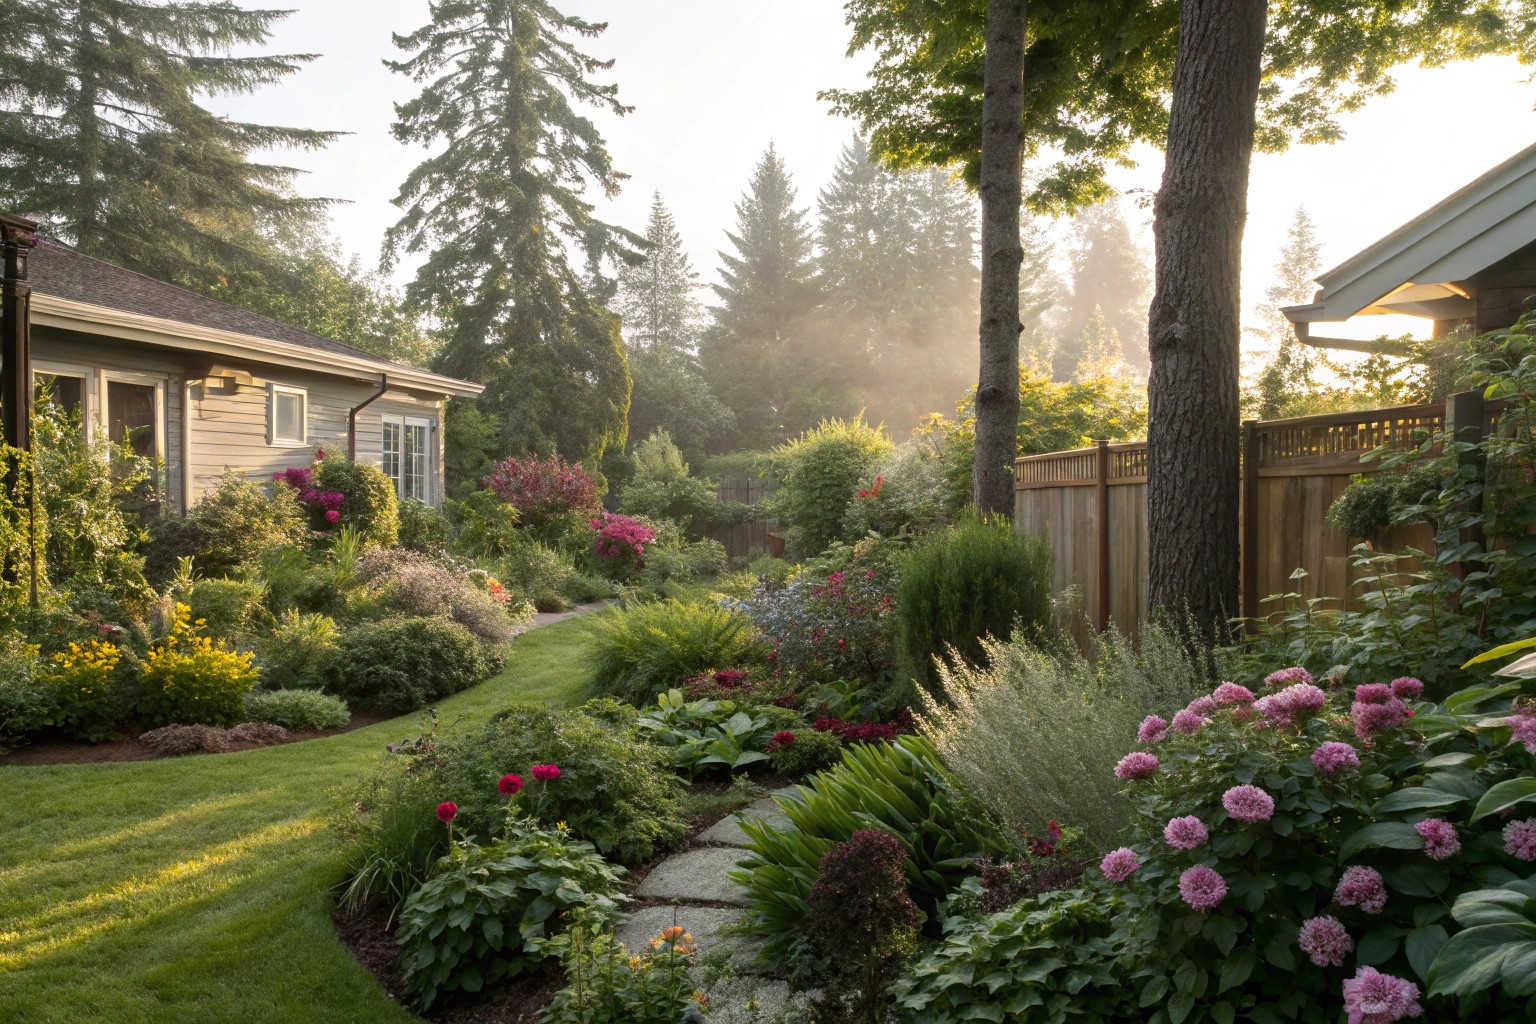
Just as interior designers create depth and visual interest through careful layering of textures, colors, and furnishings, you can transform your outdoor space using the same sophisticated principles. The secret lies in understanding how to build dimensional landscapes that feel both intentional and naturally evolved.
Understanding the Foundation: Why Layering Works
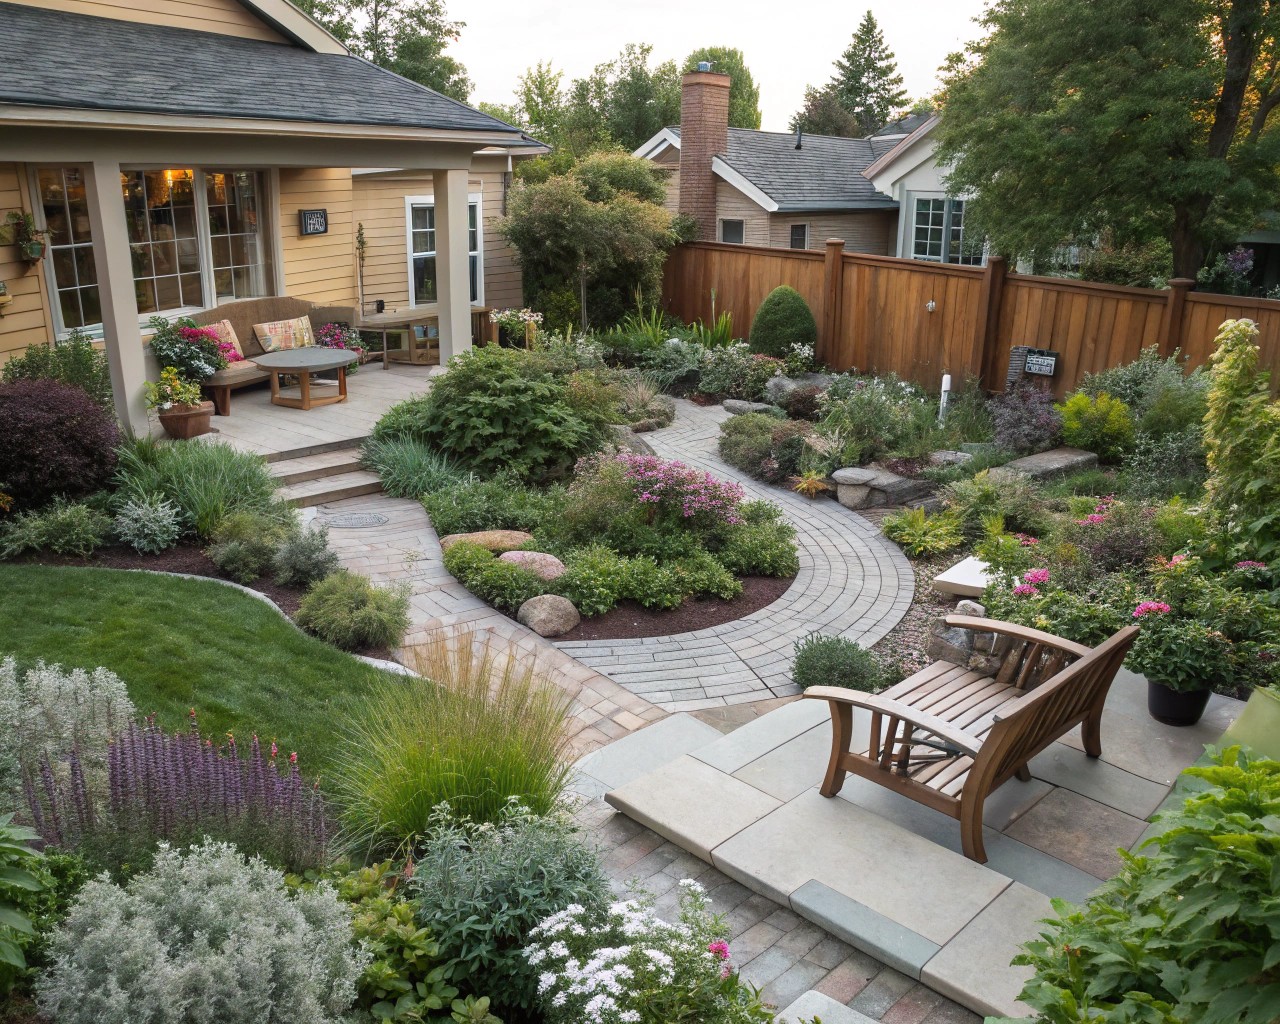
When I walk through a truly exceptional garden, what strikes me immediately isn’t just the individual plants—it’s how they work together to create a cohesive, three-dimensional composition. This is the essence of landscape layering, a technique that borrows heavily from interior design principles to create outdoor spaces with remarkable depth and visual appeal.
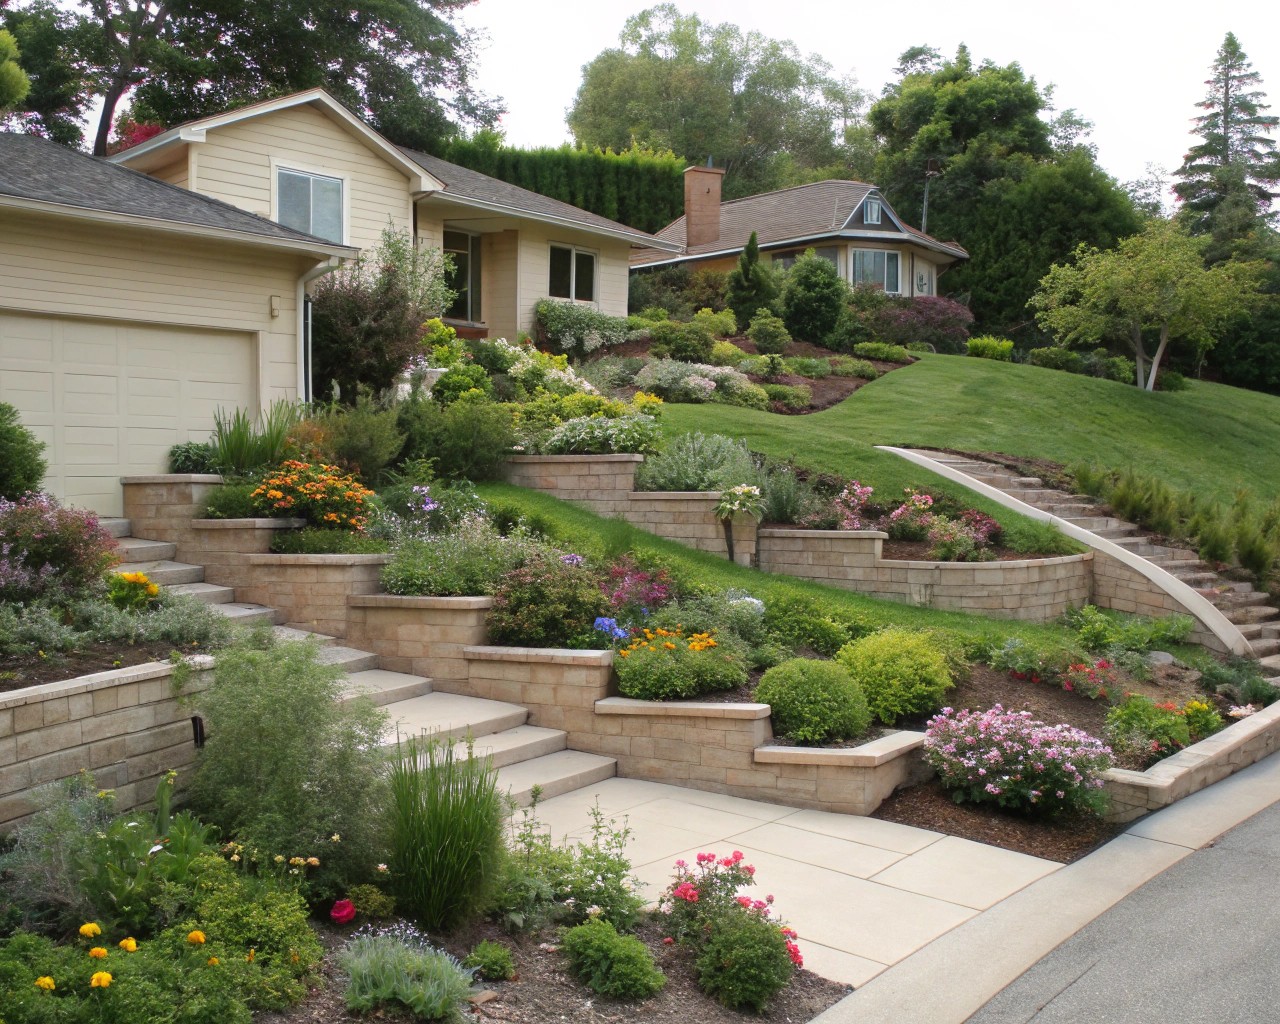
Layering creates visual hierarchy by organizing plants and hardscape elements into distinct zones that guide the eye through the space. Much like an interior designer places furniture at varying heights to create interest, landscape layering uses plant materials of different statures to establish foreground, middle ground, and background relationships. This approach transforms flat, monotonous plantings into dynamic compositions that feel sophisticated and intentional.
The psychological impact of well-layered spaces cannot be understated. Research in environmental psychology shows that spaces with varied visual depth reduce stress and increase satisfaction—the same principle applies whether you’re arranging a living room or designing a garden bed. The human eye naturally seeks complexity and variation, which layered landscapes provide in abundance.
The Five Essential Layers: Building Your Outdoor Foundation
Understanding the structural components of landscape layering is crucial for success. Professional landscape architects organize plants into five distinct layers, each serving specific functional and aesthetic purposes.
Canopy Layer: Your Outdoor Ceiling
The canopy layer consists of tall trees that form the uppermost structure of your outdoor space. These are your statement pieces—the equivalent of a dramatic chandelier in interior design. In American landscapes, excellent canopy choices include native oaks (Quercus species), maples (Acer species), and pines (Pinus species) depending on your region.
Strategic canopy placement creates microclimates beneath, much like how a ceiling defines room boundaries indoors. I recommend positioning canopy trees to frame views and provide seasonal interest while considering their mature size—a 60-foot oak requires very different spacing than a 25-foot serviceberry (Amelanchier canadensis).
Understory Layer: The Mid-Level Framework
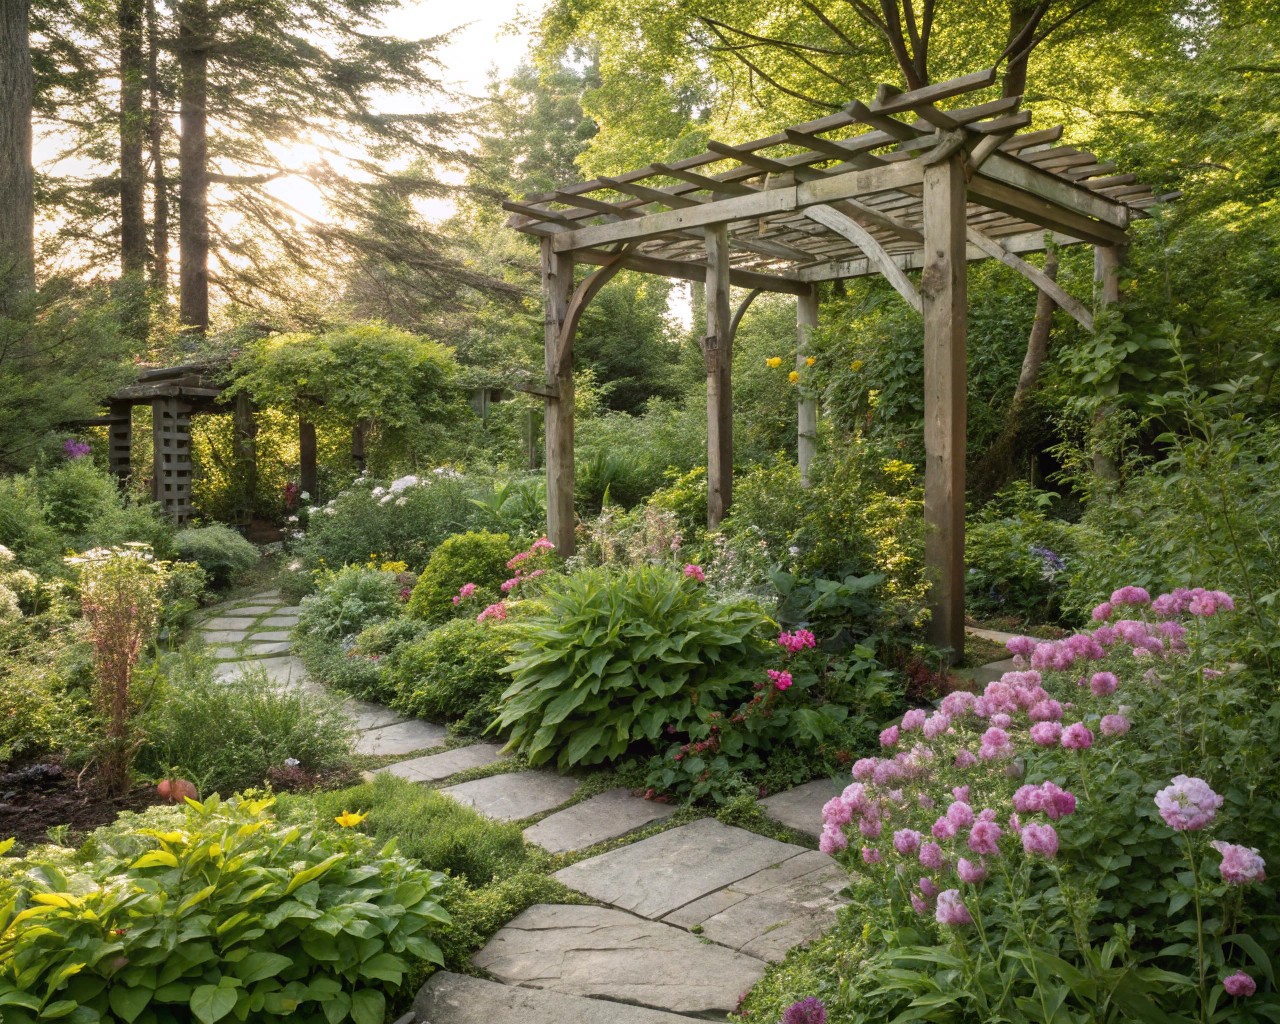
Understory trees bridge the gap between towering canopy specimens and lower plantings. These typically range from 15-25 feet at maturity and include favorites like redbud (Cercis canadensis), dogwood (Cornus florida), and serviceberry. Think of these as your outdoor “furniture”—substantial pieces that define spaces without overwhelming them.
This layer is particularly important in smaller American suburban lots where space constraints make massive canopy trees impractical. Understory trees provide four-season structure while maintaining appropriate scale for residential landscapes.
Shrub Layer: Your Living Architecture
The shrub layer provides the bulk of your garden’s structure and typically ranges from 2-12 feet in height. This is where you establish the backbone of your design—the equivalent of built-in cabinetry or room dividers in interior spaces.
Effective shrub combinations might include:
- Evergreen structure: Boxwood (Buxus species), holly (Ilex species)
- Flowering impact: Hydrangeas, viburnums (Viburnum species), witch hazel (Hamamelis virginiana)
- Textural interest: Ornamental grasses, fine-textured shrubs
Herbaceous Layer: The Decorative Details
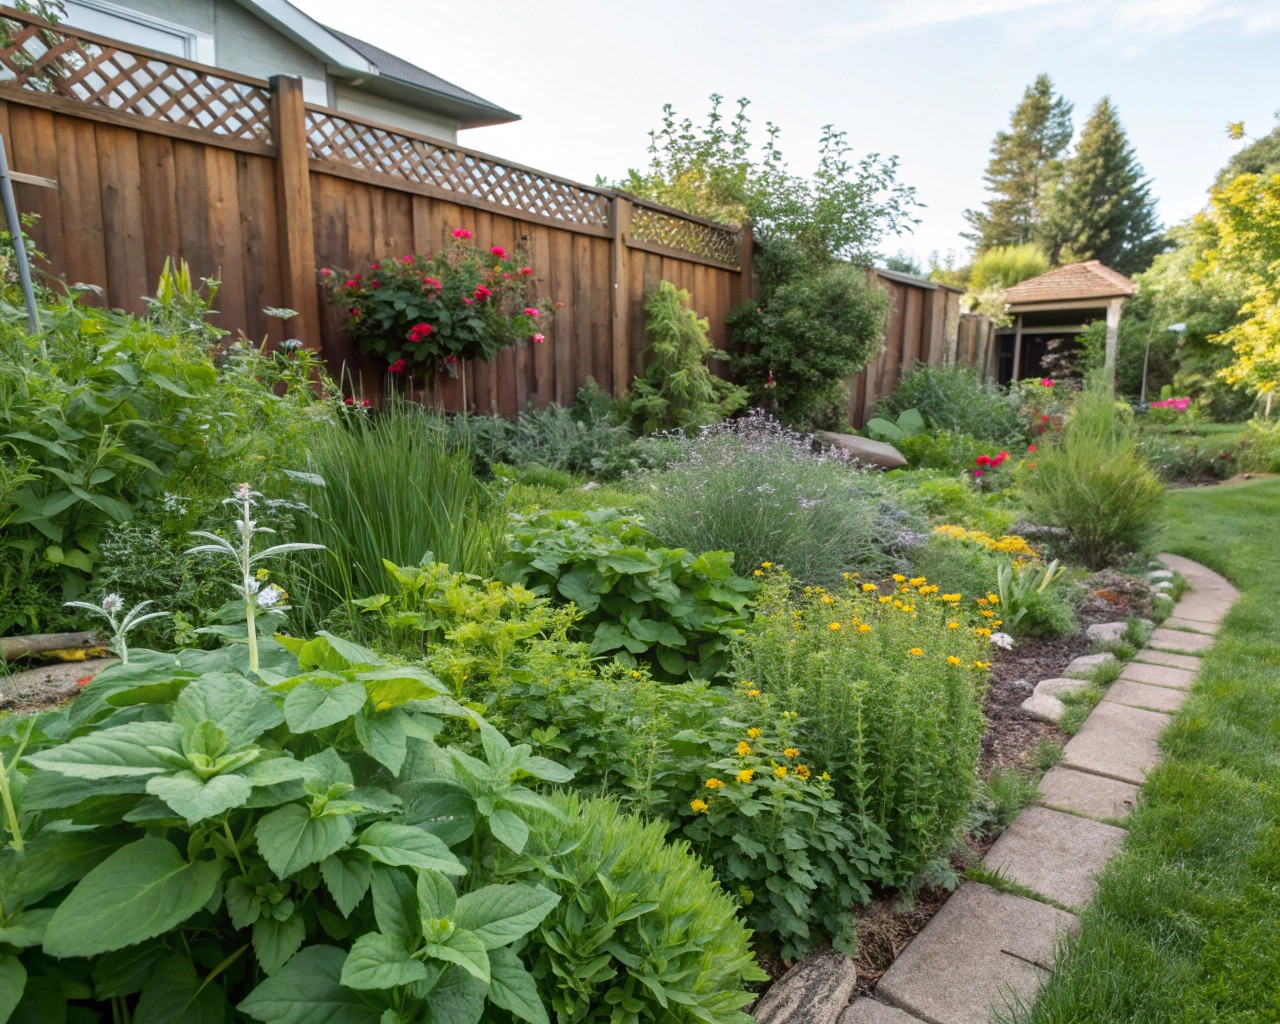
Herbaceous perennials, grasses, and ferns form the herbaceous layer, typically 6 inches to 5 feet tall. These plants function like throw pillows and artwork in interior design—they provide color, texture, and seasonal change while allowing for easy updates and modifications.
This layer offers the greatest opportunity for creativity and personal expression. Native perennials like purple coneflower (Echinacea purpurea), black-eyed Susan (Rudbeckia species), and native grasses create sustainable, beautiful displays that support local ecosystems.
Ground Layer: The Foundation
Ground covers, mosses, and low-growing plants form the foundation layer. Like a beautiful rug anchors a room, ground layer plants unify the entire composition while providing practical benefits like erosion control and weed suppression.
Effective ground covers include native sedums, wild ginger (Asarum canadense), and creeping phlox (Phlox subulata) for American gardens.
Creating Horizontal Depth: The Interior Designer’s Secret
While vertical layering creates the structural framework, horizontal layering adds the sophistication that separates amateur efforts from professional results. This technique involves creating visual depth by arranging plants in distinct zones from front to back.
The Three-Zone System
Professional designers typically work with three horizontal zones:
Foreground Zone (0-2 feet): Low-growing plants that create smooth transitions between hardscaping and taller plantings. These should be 6 inches to 2 feet tall and form the visual edge of plant beds.
Middle Ground Zone (2-5 feet): The workhorse plants that provide most of the visual mass. This zone typically contains the majority of your flowering perennials, ornamental grasses, and medium-sized shrubs.
Background Zone (5+ feet): Tall shrubs, small trees, and screening plants that create the backdrop. These elements should provide year-round structure and serve as a canvas for foreground elements.
Avoiding Common Horizontal Layering Mistakes
One critical error I frequently observe is jumping directly from foreground to background without adequate middle ground transition. This creates a choppy, unnatural appearance that lacks the sophisticated flow characteristic of professionally designed spaces.
Another common mistake involves creating uniform heights within each zone. Professional results require subtle height variations within zones—what landscape architects call “undulation”. The top edge of your plantings should flow like gentle waves rather than forming rigid horizontal lines.
Color and Texture Layering: Interior Design Principles Outdoors
Successful layering extends beyond plant height to encompass color harmony and textural contrast. Interior designers layer fabrics, finishes, and furnishings to create rich, complex schemes—the same principles apply to outdoor spaces.
Establishing a Color Foundation
Begin with a dominant color palette of 2-3 colors, then layer in accent colors sparingly. For American gardens, earth-tones like sage green, warm terracotta, and soft brown create sophisticated foundations that complement natural surroundings.
I recommend following the 60-30-10 rule adapted from interior design:
- 60%: Dominant green foliage and neutral colors
- 30%: Secondary colors from flowers or colored foliage
- 10%: Bold accent colors for seasonal impact
Textural Contrast Principles
Effective layering requires deliberate textural contrasts. Place plants with different leaf sizes, shapes, and textures adjacent to each other to create visual interest. For example:
- Bold, broad leaves (hostas, bergenia) against fine, needle-like foliage (ornamental grasses, conifers)
- Glossy surfaces (holly, camellia) contrasted with matte textures (lamb’s ear, dusty miller)
- Rigid, architectural forms (yucca, agave) balanced by soft, flowing shapes (ornamental grasses, perennials)
Seasonal Layering: Four-Season Interest
Professional outdoor spaces maintain visual appeal throughout the year through strategic seasonal layering. This approach ensures your landscape functions like a well-designed interior—beautiful and functional regardless of the season.
Spring Framework
Spring layering emphasizes emerging foliage, early flowering trees, and bulb displays. Layer early bloomers like:
- Canopy: Serviceberry, redbud for flowering impact
- Shrub: Forsythia, early-flowering azaleas
- Herbaceous: Daffodils, tulips, early perennials
- Ground: Crocus, snowdrops, wild ginger emerging
Summer Abundance
Summer requires careful color management to prevent visual chaos. Focus on:
- Foliage dominance: Strong green structure from mature leaves
- Selective color: Strategic placement of flowering perennials
- Textural variety: Contrasting plant forms and leaf shapes
Fall Transition
Fall layering emphasizes foliage color, seed heads, and berry production. Plan combinations that provide:
- Canopy color: Maples, oaks, and other deciduous trees
- Shrub interest: Viburnums, sumacs for berry and foliage color
- Herbaceous persistence: Ornamental grasses, late perennials
- Structure: Evergreen elements for winter framework
Winter Architecture
Winter reveals the essential structure of your layered design. Without flowers and leaves to distract, the quality of your layering becomes apparent through:
- Evergreen structure: Conifers, broadleaf evergreens
- Bark interest: Birch, cherry, oak trees
- Persistent elements: Ornamental grass plumes, attractive seed heads
- Hardscape integration: How built elements support plant layers
Furniture and Hardscape Layering: Completing the Interior Vision
Outdoor furniture and hardscape elements function as the “furniture” in your layered landscape. Just as interior designers layer furniture, lighting, and accessories, outdoor spaces require thoughtful integration of non-plant elements.
Foundation Furniture Selection
Choose versatile, timeless pieces as your base layer. Neutral colors like white, gray, beige, or natural wood tones provide an excellent foundation for layering additional elements. These core pieces—dining tables, seating areas, lounging spaces—anchor your design just as sofas and tables anchor interior rooms.
Material Layering for Texture
Combine materials strategically to add depth and interest. Effective outdoor material combinations include:
- Wood and metal: Teak tables with steel frame chairs
- Natural and synthetic: Stone surfaces with weather-resistant fabrics
- Rough and smooth: Textured concrete paired with polished wood
Vertical Elements and Height Variation
Create layers through varying heights in furniture and accessories. Combine low-profile seating with tall planters, incorporate side tables and bar carts for intermediate heights, and add vertical elements like screens or shelving.
Overhead elements extend your layering into the third dimension. String lights, hanging planters, or pergola structures create an outdoor “ceiling” that completes the room-like feeling essential to successful layered design.
Regional Adaptations: American Climate Considerations
Successful layering must account for regional growing conditions across America’s diverse climate zones. What works beautifully in the Pacific Northwest requires modification for success in the Southwest or Southeast.
Northeastern Adaptations (Zones 3-6)
Cold hardiness and seasonal extremes drive plant selection. Focus on:
- Canopy: Sugar maple, white oak, eastern white pine
- Understory: Serviceberry, redbud, dogwood
- Shrubs: Viburnum, spicebush, native azaleas
- Perennials: Native asters, goldenrod, ferns
Southeastern Considerations (Zones 7-9)
Heat tolerance and humidity management become priorities. Adapt layering with:
- Canopy: Live oak, bald cypress, southern magnolia
- Understory: Redbud, dogwood, crape myrtle
- Shrubs: Native azaleas, oakleaf hydrangea, beautyberry
- Perennials: Native grasses, black-eyed Susan, coral honeysuckle
Western Adaptations (Zones 8-10)
Drought tolerance and Mediterranean climate adaptation guide choices. Layer with:
- Canopy: Coast live oak, valley oak, native pines
- Understory: Manzanita, California redbud, elderberry
- Shrubs: Ceanothus, sage species, native buckwheat
- Perennials: Native bunch grasses, California poppies, salvias
Implementation Strategy: Your Step-by-Step Action Plan
Successful layering requires systematic implementation rather than random plant placement. Professional results come from following a logical sequence that builds complexity gradually.
Phase 1: Site Analysis and Framework
Begin with thorough site assessment. Document existing conditions including:
- Soil conditions: pH, drainage, organic content
- Light patterns: Full sun, partial shade, deep shade areas throughout the day
- Microclimates: Wind patterns, moisture retention, heat reflection
Establish the structural framework first. Install canopy and understory trees, major hardscape elements, and irrigation systems before adding detailed plantings. This foundation-first approach prevents damage to smaller plants during major installations.
Phase 2: Shrub Layer Installation
Install shrub layer plantings using proper spacing for mature sizes. This critical step requires restraint—young shrubs appear sparse initially but will fill in within 2-3 growing seasons. Resist the temptation to overplant, which leads to expensive removal projects later.
Group shrubs in odd-numbered clusters (3, 5, 7) for natural appearance. Random placement lacks the intentional rhythm that characterizes professional designs.
Phase 3: Herbaceous and Ground Layer Details
Add herbaceous perennials and ground covers to complete the layering. This final phase allows for creative expression and seasonal color management.
Plan for succession planting. Stagger bloom times to ensure continuous interest throughout the growing season. Early spring bulbs transition to late spring perennials, followed by summer bloomers and fall-flowering plants.
Phase 4: Refinement and Editing
Professional layering requires ongoing refinement. Plan to evaluate and adjust plantings annually, moving plants that don’t perform well in their assigned locations and adding new elements to improve overall composition.
Document successful combinations. Photograph your space throughout the seasons to identify which plant combinations work well and which need adjustment.
Maintenance Strategies for Layered Landscapes
Layered landscapes require different maintenance approaches than traditional foundation plantings. The complexity that makes these designs beautiful also demands more sophisticated care strategies.
Selective Pruning Techniques
Maintain layer integrity through selective pruning. Each layer requires different pruning timing and techniques:
- Canopy trees: Professional pruning every 3-5 years for structure
- Understory trees: Annual dormant season pruning for shape
- Shrubs: Timing varies by species—spring bloomers after flowering, summer bloomers in late winter
- Perennials: Cut back timing affects next year’s performance
Soil Health Management
Layered plantings create complex root systems that benefit from organic soil management. Annual applications of compost improve soil structure and provide slow-release nutrients for diverse plant communities.
Mulching strategies vary by layer. Tree and shrub areas benefit from 2-3 inch wood mulch layers, while perennial areas often perform better with lighter mulch applications or living ground covers.
Advanced Techniques: Taking Your Layering to the Next Level
Once basic layering principles are mastered, advanced techniques create truly exceptional outdoor spaces. These refinements separate competent amateur efforts from professional-quality results.
Seasonal Succession Planting
Plan plant combinations that provide seamless transitions throughout the growing season. For example, position late-emerging perennials like balloon flower (Platycodon grandiflorus) to mask the declining foliage of spring bulbs.
Incorporate plants with different phenology patterns. Early leafing trees provide spring structure while late-leafing species extend the growing season. This temporal layering adds another dimension to spatial arrangements.
Micro-Layering Techniques
Create layering within individual plant groups. Instead of planting single specimens, arrange small clusters with subtle height and textural variations. A group of three ornamental grasses might include two specimens of the same variety with one slightly different cultivar for textural interest.
Integration with Architecture
Professional layering integrates seamlessly with built structures. Use plant layers to soften architectural lines while respecting the home’s style and proportions. Contemporary homes benefit from clean, geometric layering while traditional styles support more naturalistic arrangements.

