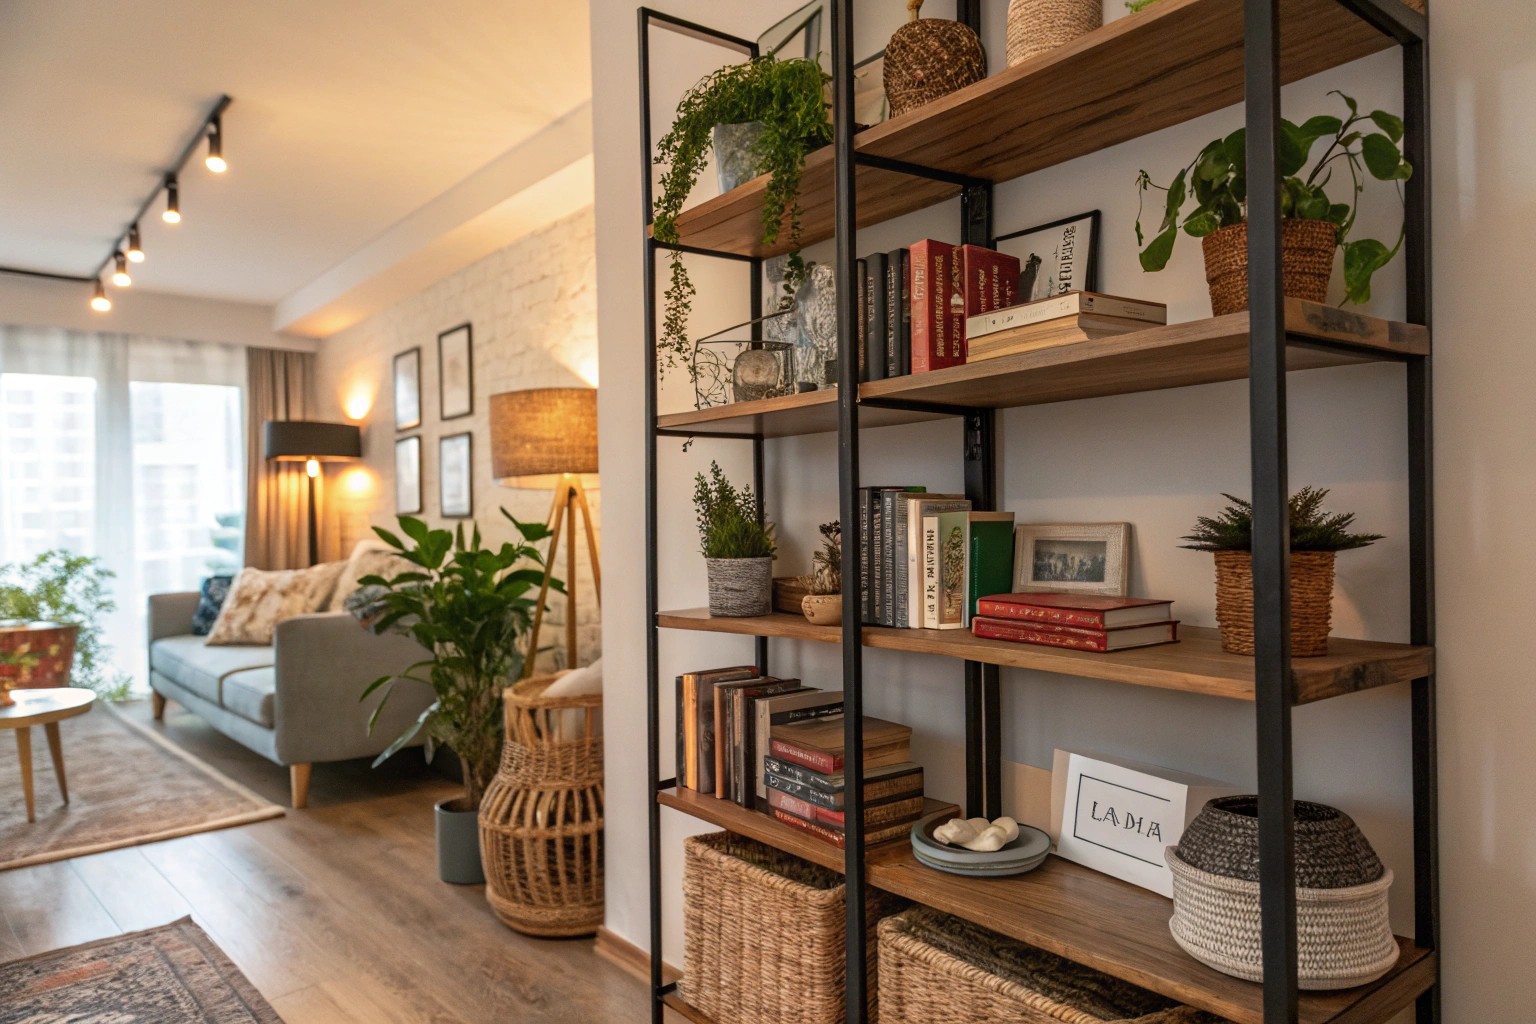
Open shelving has evolved from a purely functional storage solution into one of the most powerful design tools for creating personalized, lived-in spaces that reflect authentic style. The difference between shelves that feel chaotic and those that appear effortlessly curated lies not in expensive accessories, but in understanding the fundamental principles of visual composition and intentional placement.
Understanding the Visual Foundation
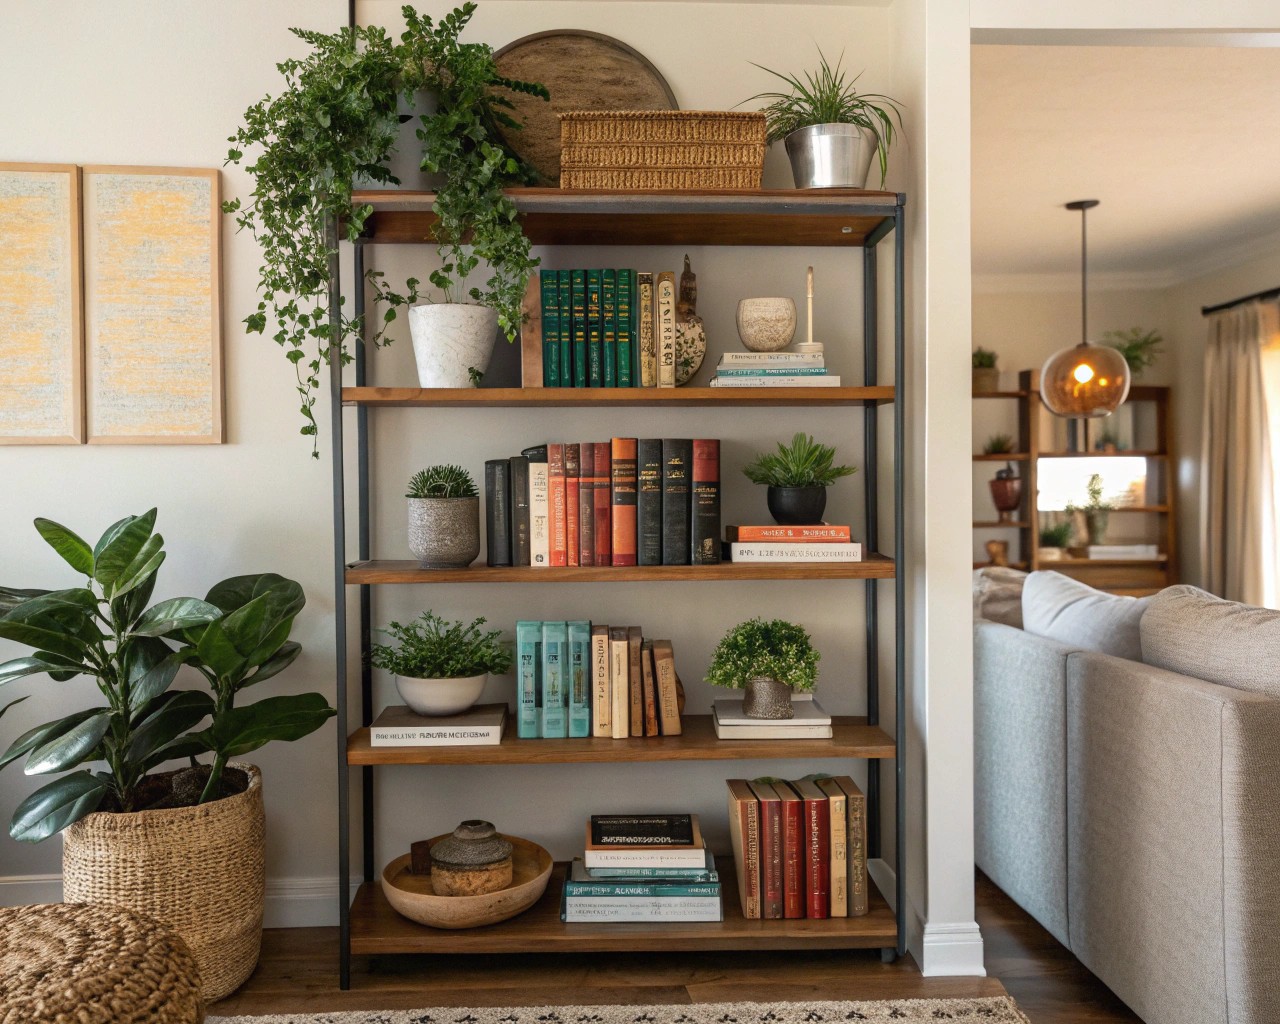
The Science of Visual Weight
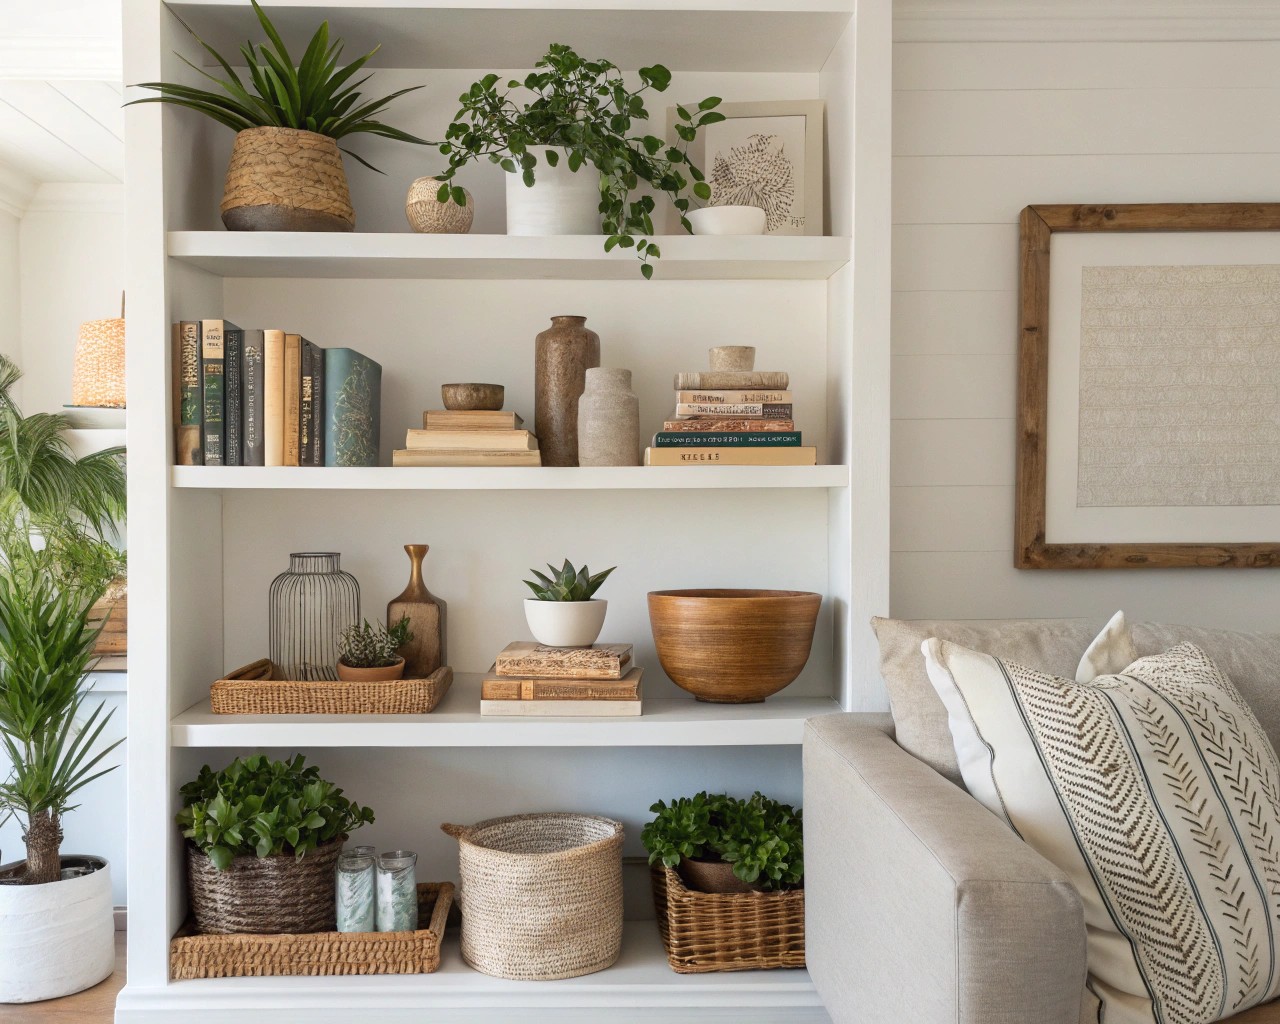
Every object on your shelves carries what designers call visual weight—not the actual physical weight, but how heavy or light something appears to our eyes. Dark, large, or densely detailed items feel heavier, while light-colored, smaller, or transparent objects appear lighter. This concept becomes crucial when creating balanced, harmonious displays that don’t overwhelm the eye.
When I work with clients on shelf styling, I often observe their immediate reaction to different arrangements. Objects that grab our attention typically have more visual weight and naturally become the focal points of any display. Understanding this principle allows you to strategically place statement pieces where they’ll have maximum impact while supporting them with lighter elements that won’t compete for attention.
Visual Weight Hierarchy:
- Heavy: Dark colors, large scale, complex patterns, dense materials
- Medium: Medium tones, moderate scale, simple patterns
- Light: Light colors, small scale, transparent materials, negative space
The Power of Negative Space
One of the most common mistakes in shelf styling is the impulse to fill every available inch. However, negative space—the empty areas around objects—serves as visual breathing room that allows each carefully chosen item to shine. Professional designers understand that strategic emptiness actually makes displays feel more intentional and sophisticated.
Negative space functions similarly to silence in music; it provides contrast that makes the “notes” (your objects) more impactful. When styling shelves, aim to fill only 60-70% of the available space, leaving the remainder as thoughtful emptiness that guides the eye through your composition.
The Psychology of Curated Spaces
Why Clutter Creates Stress
Research in environmental psychology supports what many homeowners intuitively feel: excessive visual clutter can create stress and anxiety, even when we’re not consciously aware of it. Too much open storage and display can create what designers term “visual clutter,” which immediately exhausts the eye and makes spaces feel busy and overwhelming.
The human brain processes visual information at lightning speed, constantly trying to make sense of what it sees. When faced with chaotic arrangements, our minds struggle to find patterns or focal points, leading to a subtle but persistent sense of unease. This is why curated, intentional displays feel so much more restful and welcoming.
Creating Visual Harmony
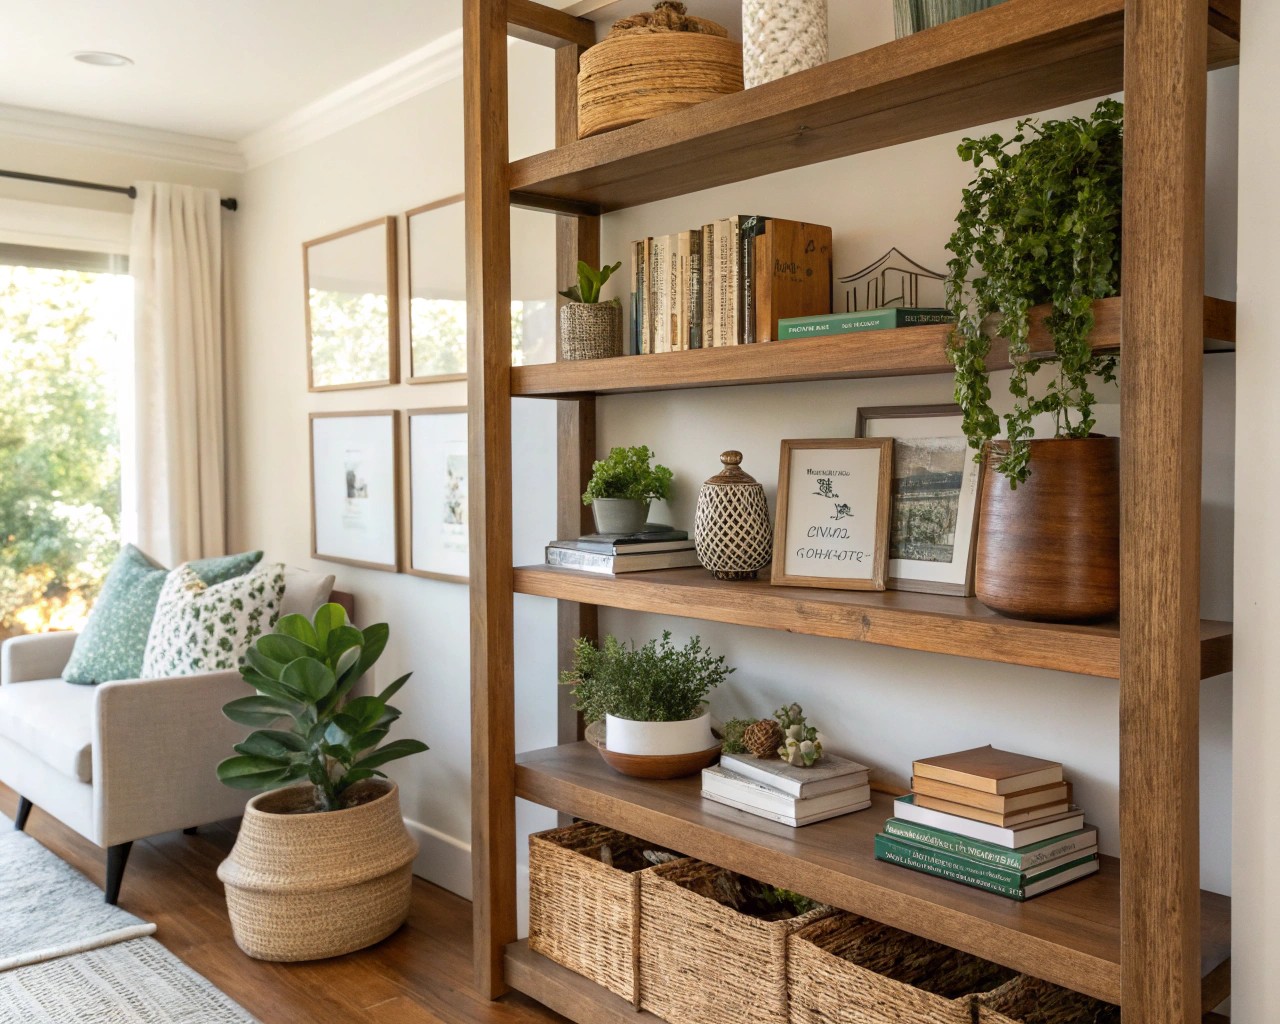
Successful shelf styling creates what I call “visual conversation”—a flow between objects that tells a cohesive story. This happens when you establish clear relationships between items through color, texture, scale, or theme. The goal isn’t perfection, but rather a sense that each piece belongs and contributes to the overall narrative.
Essential Elements for Successful Shelf Styling
The Foundation Trio
Every well-styled shelf benefits from incorporating three fundamental categories of objects:
Functional Items (40-50%)
– Books (both vertical and horizontal arrangements)
– Storage containers and baskets
– Everyday dishes or glassware
– Items you actually use regularly
Natural Elements (20-30%)
– Plants or fresh flowers
– Natural textures (wood, stone, ceramic)
– Organic shapes and materials
– Seasonal elements
Personal Touches (20-30%)
– Meaningful objects and collections
– Artwork and photographs
– Travel souvenirs
– Handmade or vintage pieces
Color Strategy
Before selecting objects, establish a cohesive color palette of 3-4 main colors that complement your room’s existing scheme. This might include 2-3 neutrals plus 1-2 accent colors. Having this framework prevents impulse additions that disrupt visual harmony and ensures new pieces will integrate seamlessly with your existing display.
| Color Role | Examples | Purpose |
|---|---|---|
| Primary Neutral | White, cream, natural wood | Creates visual rest |
| Secondary Neutral | Gray, black, darker wood | Adds depth and grounding |
| Accent Color 1 | Soft blues, greens, warm terracotta | Introduces personality |
| Accent Color 2 | Metallics, deep jewel tones | Provides sophisticated contrast |
Step-by-Step Styling Process
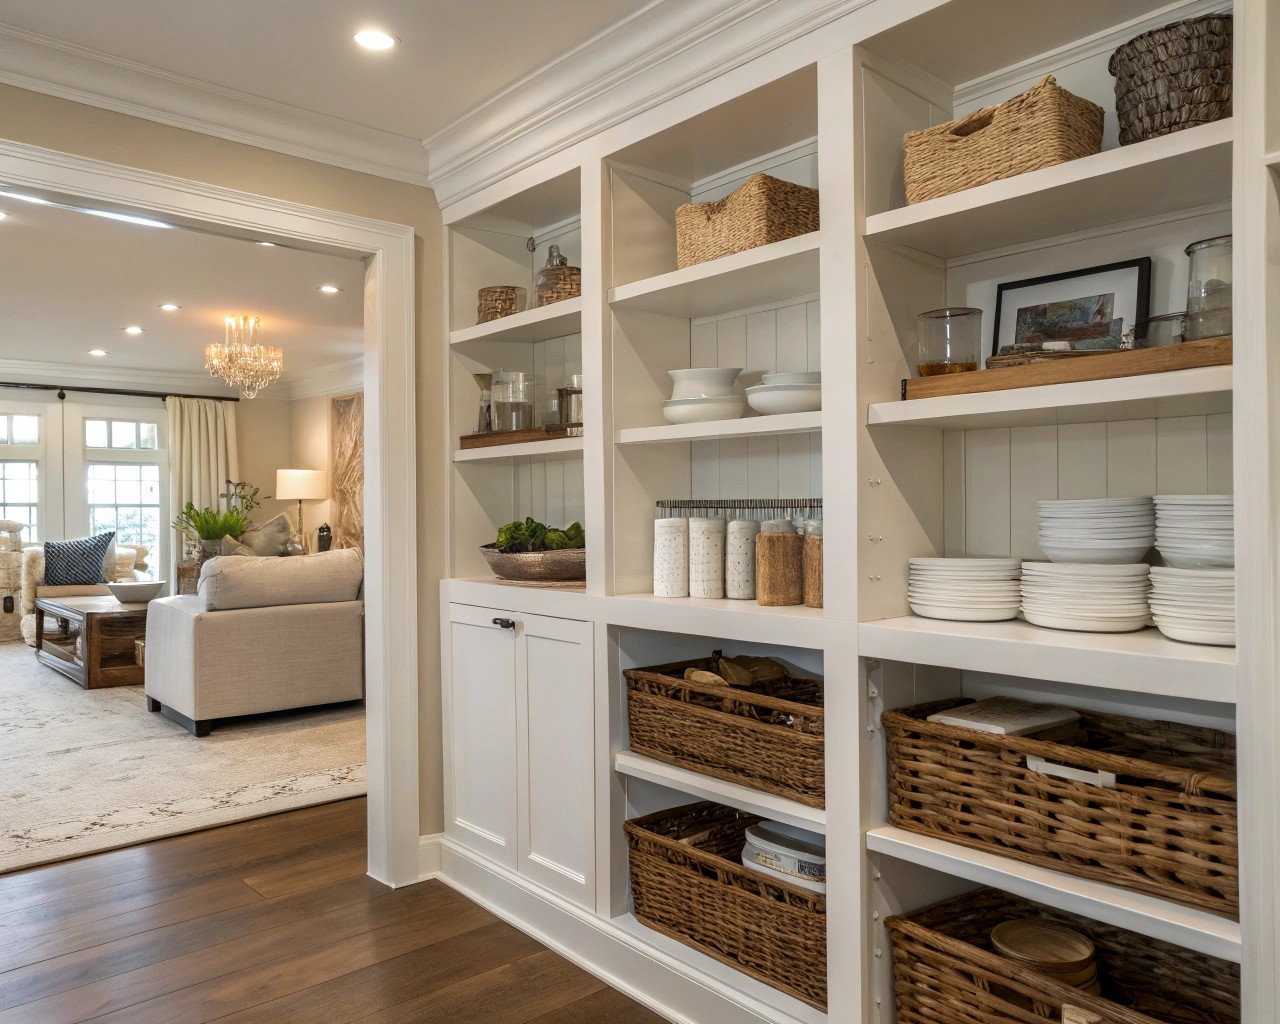
Phase 1: Preparation and Planning
Start with a completely blank slate by removing everything from your shelves. This reset allows you to approach the styling with fresh eyes and prevents you from simply rearranging existing clutter. Use this opportunity to dust thoroughly and edit your collection, keeping only items that truly deserve display space.
Gather all potential objects before beginning the arrangement process. This might seem overwhelming initially, but having everything visible allows you to make better decisions about what works together and what doesn’t. Sort items by category (books, plants, decorative objects) and by color to identify potential groupings.
Phase 2: Establishing Hierarchy
Begin by placing your three favorite or most meaningful pieces on separate shelves. This creates natural focal points and prevents clustering all your best items in one area. These anchor pieces should vary in size and visual weight to create interesting contrast throughout the display.
Placement Strategy:
- Bottom shelves: Heavier, larger items that ground the arrangement
- Middle shelves: Mix of books and medium-sized objects
- Top shelves: Lighter, more delicate items with plenty of negative space
Phase 3: Building Layers and Groups
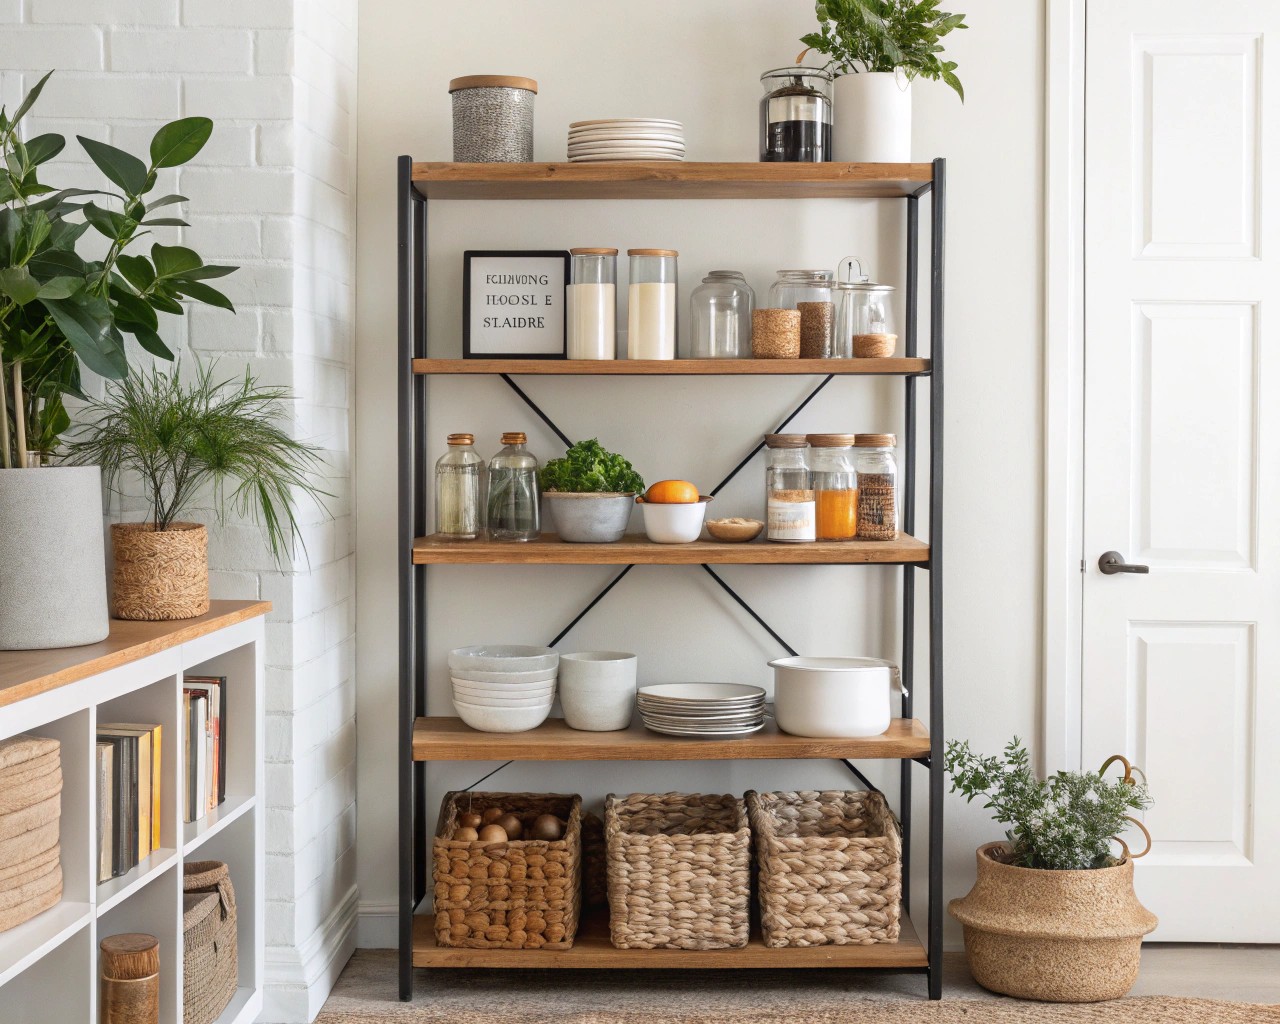
Work in groupings of odd numbers—typically three or five items—as these arrangements feel more natural and dynamic than even-numbered groups. Create layers by placing items at different depths on each shelf, with some objects pushed toward the back and others brought forward for visual interest.
Layering Techniques:
- Lean artwork or small frames against the back wall
- Stack books horizontally to create platforms for smaller objects
- Vary heights within each grouping using books, boxes, or risers
- Mix vertical and horizontal orientations for visual rhythm
Phase 4: Adding Movement and Connection
Create visual movement by repeating elements across different shelves. This might mean distributing similar colors, shapes, or textures throughout the display rather than concentrating them in one area. For example, if you have three ceramic pieces, place them on different shelves to create a visual triangle that guides the eye around the entire arrangement.
Books serve as excellent connective elements, providing color, texture, and opportunities for height variation. Mix vertical rows with horizontal stacks, and don’t hesitate to turn some spines inward if the colors feel too chaotic or distracting.
Advanced Styling Techniques
The Triangle Method
Professional stylists often use an invisible triangle as a guide for arranging objects within each grouping. Place your tallest item at the triangle’s peak, with smaller items forming the base. This creates natural, pleasing proportions that feel balanced without appearing rigid or forced.
Texture Mixing
Successful displays incorporate a variety of textures to create visual and tactile interest. Combine smooth ceramics with rough natural materials, shiny metals with matte finishes, and hard surfaces with soft textiles. This contrast prevents displays from feeling flat or monotonous.
Texture Categories to Include:
- Smooth: Glass, polished ceramics, metals
- Rough: Natural stone, unglazed pottery, raw wood
- Soft: Textiles, dried flowers, natural fibers
- Reflective: Mirrors, metallic finishes, crystal
Seasonal Evolution
One advantage of open shelving is the ability to refresh displays seasonally without major renovation. Establish a core collection of neutral, timeless pieces that remain constant, then swap in seasonal elements to keep the display feeling fresh and current. This might mean adding warm metallics and rich textures in fall, or incorporating fresh flowers and lighter colors in spring.
Room-Specific Applications
Kitchen Shelving
Kitchen open shelving serves dual purposes: display and easy access to frequently used items. Prioritize items you reach for daily, grouping similar objects together for both visual appeal and practical function. Stack plates and bowls to showcase beautiful designs, display glassware within easy reach, and use matching sets to create cohesion.
Kitchen Display Essentials:
- Everyday dishes in consistent colors or patterns
- Glassware grouped by type and frequency of use
- Cookbooks arranged both vertically and horizontally
- Small appliances that double as decorative elements
- Canisters for dry goods that add both function and style
Consider the practical realities of kitchen shelving, including exposure to grease and humidity. Items displayed here require more frequent cleaning than those in other rooms, so choose pieces that can withstand regular maintenance.
Living Room Displays
Living room shelving allows for more purely decorative arrangements, though incorporating some functional storage maintains the space’s livability. Mix books with artwork, plants, and meaningful personal objects to create displays that reflect your interests and personality.
Living Room Styling Elements:
- Books arranged by color or subject for visual impact
- Artwork leaned casually against the wall
- Plants in varied heights and textures
- Personal collections displayed thoughtfully
- Storage baskets that hide less attractive necessities
Bathroom Shelving
Bathroom open shelving requires careful consideration of humidity and practicality. Choose items that can withstand moisture and are easily cleanable. Focus on everyday essentials elevated through thoughtful presentation—beautiful containers for cotton balls, elegant soap dispensers, and fresh plants that thrive in humid conditions.
Common Styling Mistakes and Solutions
Overcrowding and Visual Chaos
The most frequent error is attempting to display everything at once, creating overwhelming visual clutter. Combat this by regularly editing your collection and remembering that empty space enhances rather than detracts from your display.
Solutions:
- Follow the 60-70% rule for shelf occupation
- Store less attractive items in closed storage
- Rotate collections seasonally to keep displays fresh
- Choose quality over quantity for display pieces
Ignoring Scale and Proportion
Mixing dramatically different scales without consideration can create jarring, unbalanced displays. While some scale variation adds interest, extreme differences should be used sparingly and with intention.
Neglecting Maintenance
Open shelving requires ongoing attention to remain attractive. Dust accumulates quickly on displayed items, and arrangements may become disheveled with daily use. Build regular maintenance into your routine—a quick weekly dusting and monthly arrangement refresh keeps displays looking intentional.
Maintenance Schedule:
- Daily: Return items to their designated positions
- Weekly: Dust all surfaces and objects
- Monthly: Rearrange elements and edit collection
- Seasonally: Major refresh with new elements
Maintenance and Evolution
Sustainable Styling Practices
Approach shelf styling as an evolving practice rather than a one-time project. Allow displays to grow and change organically as you acquire new pieces or your tastes develop. This prevents the stagnation that occurs when arrangements become too precious to touch or modify.
Start with a strong foundation of neutral, timeless pieces, then layer in seasonal elements and new discoveries. This approach ensures your displays remain fresh and personal while maintaining visual coherence over time.
Building Your Collection Thoughtfully
Rather than rushing to fill shelves immediately, build your collection gradually, choosing pieces that truly resonate with your aesthetic vision. This patient approach results in more meaningful, cohesive displays and prevents the accumulation of items that don’t contribute to your overall design goals.
When considering new additions, ask yourself: Does this piece fit my established color palette and aesthetic? Will it serve a functional purpose or bring genuine joy? Does it complement rather than compete with existing pieces?

